|
|
||
|---|---|---|
| .. | ||
| src | ||
| Image Captioning TF 2.0.ipynb | ||
| README.md | ||
README.md
Image Captioning TF 2.0
Overview
This notebook is an example of how to convert an existing Tensorflow notebook into a Kubeflow pipeline using jupyter notebook. Specifically, this notebook takes an example tensorflow notebook, image captioning with attention, and creates a kubeflow pipeline. This pipeline produces a model that can generate captions for images.
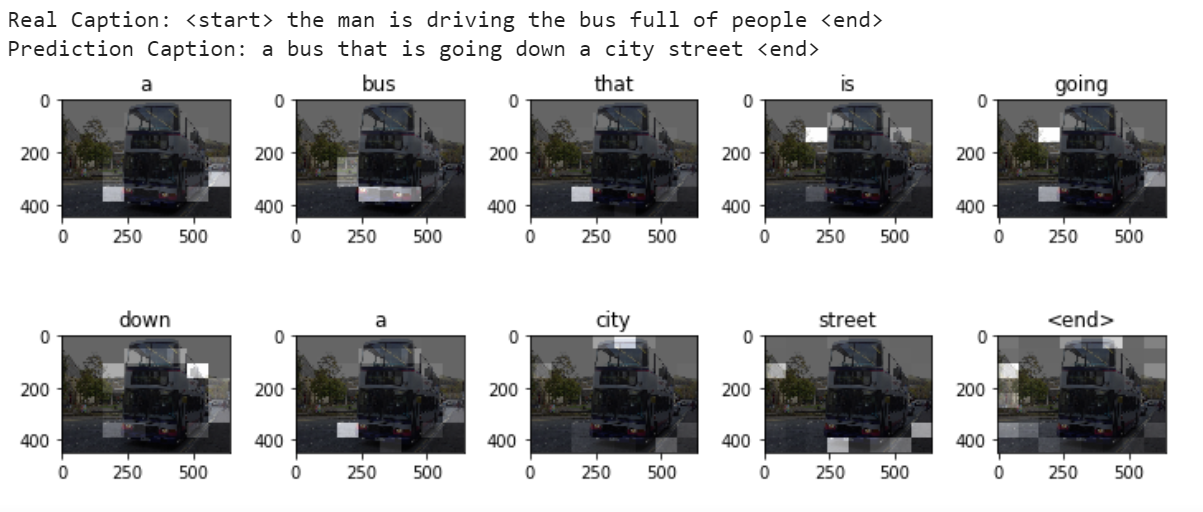
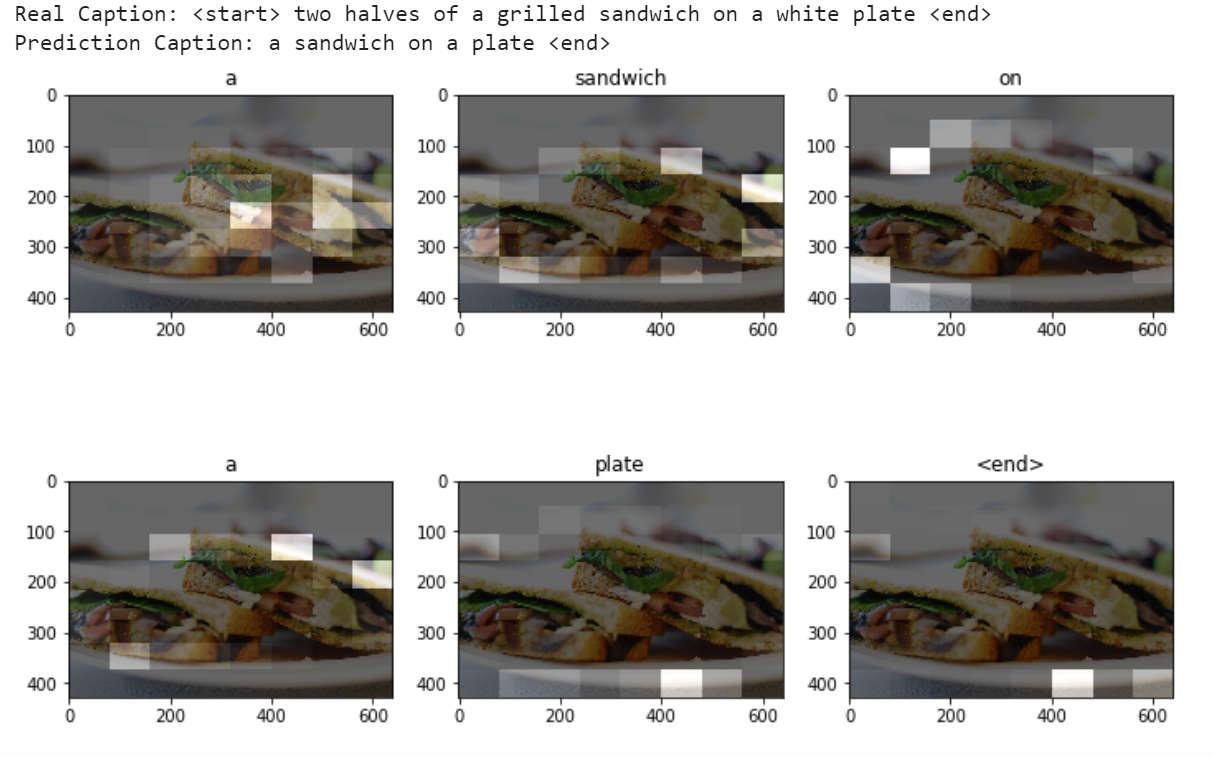
Example generated captions
The following example captions were created when using num_examples = 30000.
Setup
Setup notebook server
This pipeline requires you to setup a notebook server in the Kubeflow UI. After you are setup, upload this notebook and then run it in the notebook server.
Create a GCS bucket
This pipeline requires a GCS bucket. If you haven't already, create a GCS bucket to run the notebook. Make sure to create the storage bucket in the same project that you are running Kubeflow on to have the proper permissions by default. You can also create a GCS bucket by running gsutil mb -p <project_name> gs://<bucket_name>.
Upload the notebook in the Kubeflow UI
In order to run this pipeline, make sure to upload the notebook to your notebook server in the Kubeflow UI. You can clone this repo in the Jupyter notebook server by connecting to the notebook server and then selecting New > Terminal. In the terminal type git clone https://github.com/kubeflow/pipelines.git.
Create base image
In order to run this pipeline, you need to first build the docker base image and upload it to a container registry. This can be done locally with the following commands:
git clone https://github.com/kubeflow/pipelines.git
cd pipelines/samples/contrib/image-captioning-gcp/src
docker build -t img-cap .
docker tag img-cap gcr.io/[PROJECT-ID]/img-cap:latest
docker push gcr.io/[PROJECT ID]/img-cap:latest
Download dataset
To download the dataset, run the first few cells in the notebook.
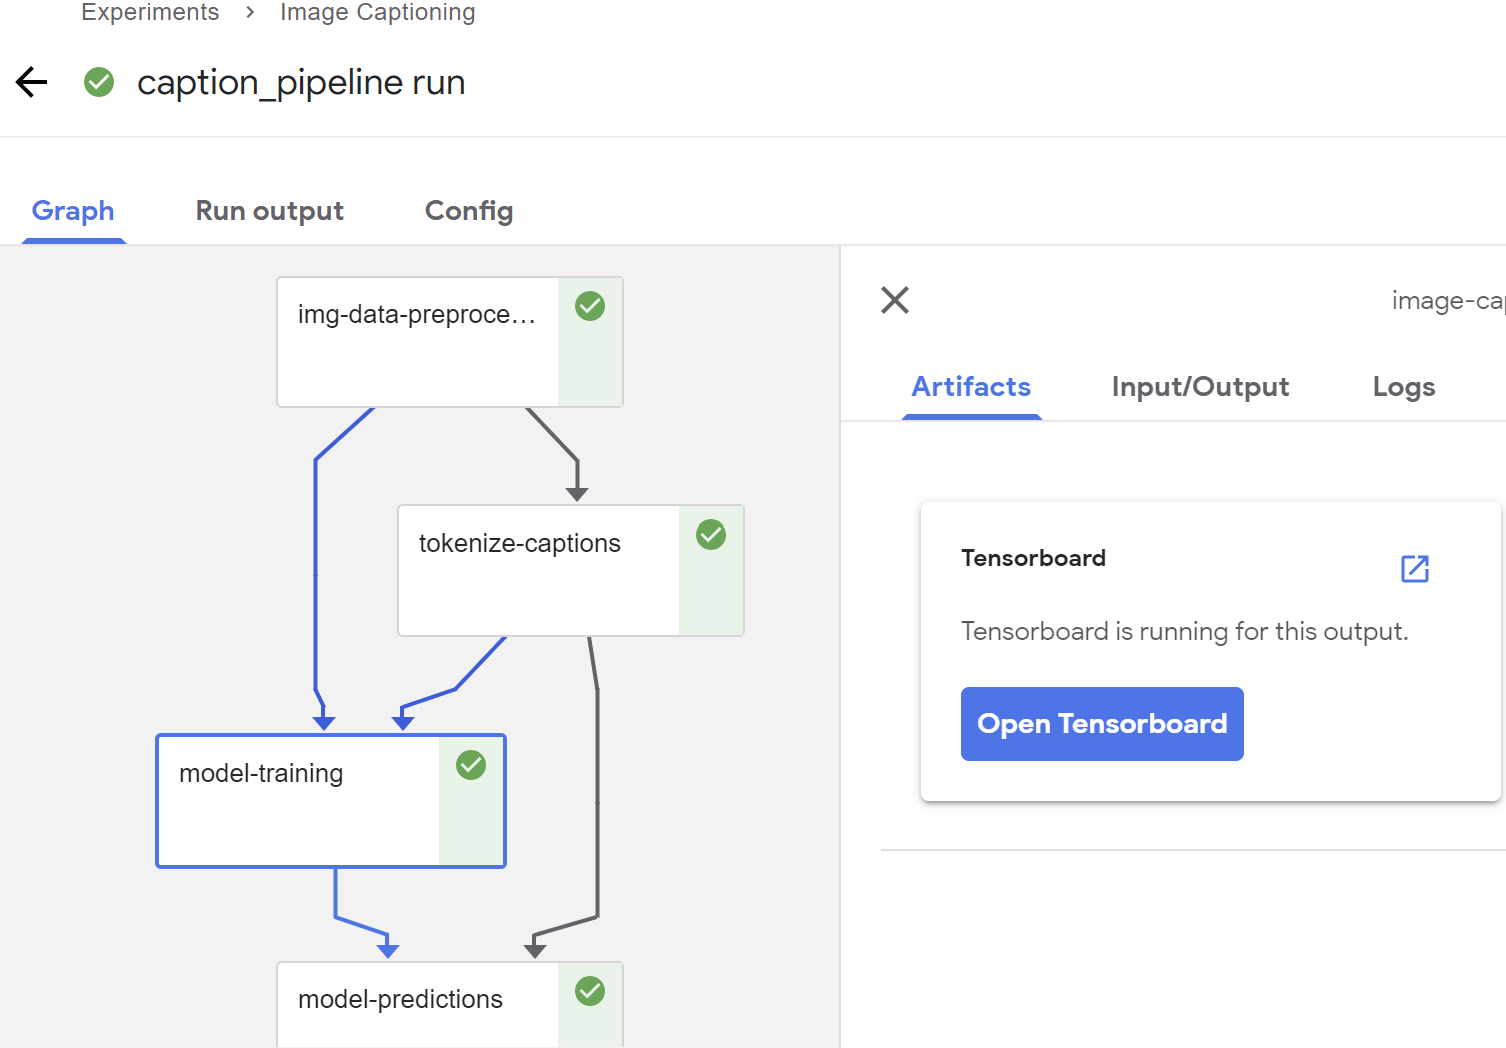
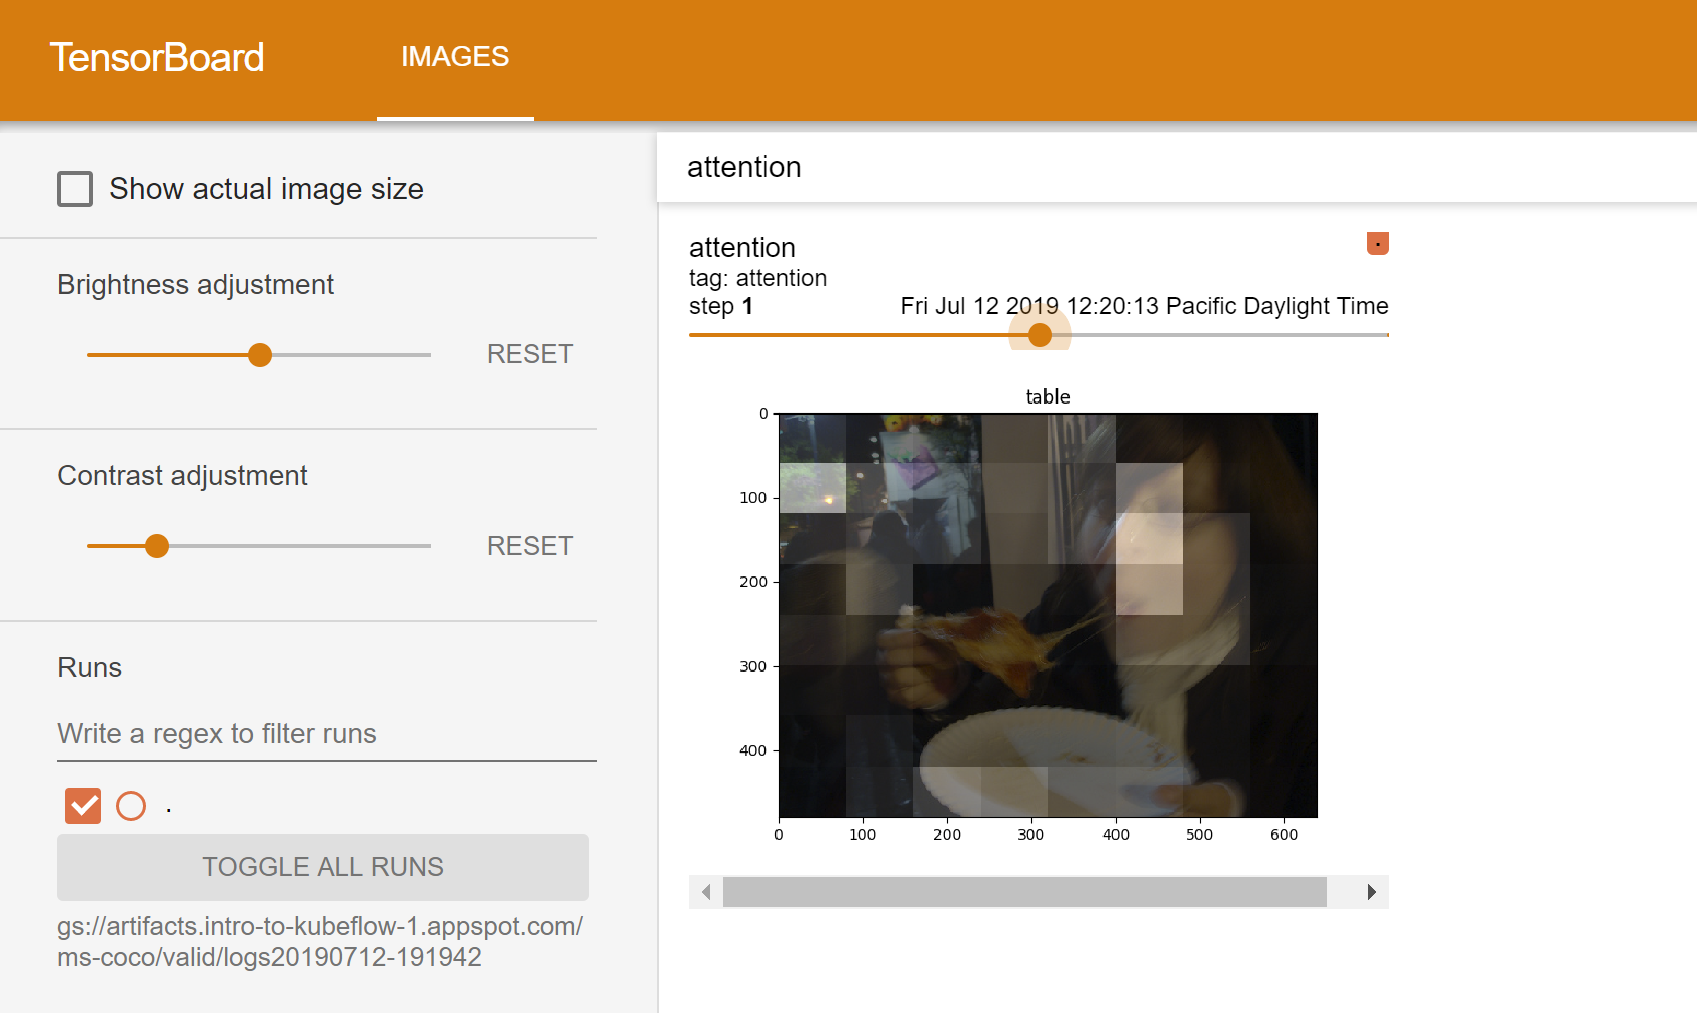
Artifacts
Below are some screenshots of the final pipeline and the model outputs.
Steps taken to convert the original TF 2.0 notebook
- Componentize notebook to run in different steps, and not linearly.
- Store the dataset in GCS to make it easily accessible in Kubeflow.
- Use
file_io.FileIO()instead ofopen()when loading files from GCS. - To pass multiple outputs downstream, pass them as a tuple of strings. Kubeflow converts this tuple to a string when you pass it downstream. So, you have to convert it from a string back to a tuple in the downstream component to get the multiple outputs.
- To pass many numpy arrays to downstream components, first save them on GCS. Put the paths to the saved numpy files in a new array, and then save that array on GCS as well. Pass the path to this array to the downstream components.
- Use
tf.io.read_fileand thentf.image.decode_jpeginstead ofPIL.Imageto be compatible with GCS.