4.0 KiB
| title | description | keywords |
|---|---|---|
| Try Atomist | atomist, tutorial, introduction, local images |
{% include atomist/disclaimer.md %}
The quickest way to try Atomist is to run it on your local images, as a CLI tool. Trying it locally eliminates the need of having to integrate with and connect to a remote container registry. The CLI uses your local Docker daemon directly to upload the Software Bill of Materials (SBOM) to the Atomist control plane for analysis.
Prerequisites
Before you can begin the setup, you need a Docker ID. If you don't already have one, you can register here{: target="blank" rel="noopener" class=""}.
Steps
Note
Only use this CLI-based method of indexing images for testing or trial purposes. For further evaluation or production use, integrate Atomist with your container registry. See get started.
-
Go to the Atomist website{: target="blank" rel="noopener" class=""} and sign in using your Docker ID.
-
Open the Integrations tab.
-
Under API Keys, create a new API key.
-
In your terminal of choice, invoke the Atomist CLI tool using
docker run. Update the following values:--workspace: the workspace ID found on the Integrations page on the Atomist website.--api-key: the API key you just created.--image: the Docker image that you want to index.
docker run \
   -v /var/run/docker.sock:/var/run/docker.sock \
   -ti atomist/docker-registry-broker:latest \
   index-image local \
   --workspace AQ1K5FIKA \
   --api-key team::6016307E4DF885EAE0579AACC71D3507BB38E1855903850CF5D0D91C5C8C6DC0 \
   --image docker.io/david/myimage:latest
Note
The image must have a tag (for example,
myimage:latest) so that you are able to identify the image later.The output should be similar to the following:
[info] Starting session with correlation-id c12e08d3-3bcc-4475-ab21-7114da599eaf [info] Starting atomist/docker-vulnerability-scanner-skill 'index_image' (1f99caa) atomist/skill:0.12.0-main.44 (fe90e3c) nodejs:16.15.0 [info] Indexing image python:latest [info] Downloading image [info] Download completed [info] Indexing completed [info] Mapped packages to layers [info] Indexing completed successfully [info] Transacting image manifest for docker.io/david/myimage:latest with digest sha256:a8077d2b2ff4feb1588d941f00dd26560fe3a919c16a96305ce05f7b90f388f6 [info] Successfully transacted entities in team AQ1K5FIKA [info] Image URL is https://dso.atomist.com/AQ1K5FIKA/overview/images/myimage/digests/sha256:a8077d2b2ff4feb1588d941f00dd26560fe3a919c16a96305ce05f7b90f388f6 [info] Transacting SBOM... [info] Successfully transacted entities in team AQ1K5FIKA [info] Transacting SBOM... -
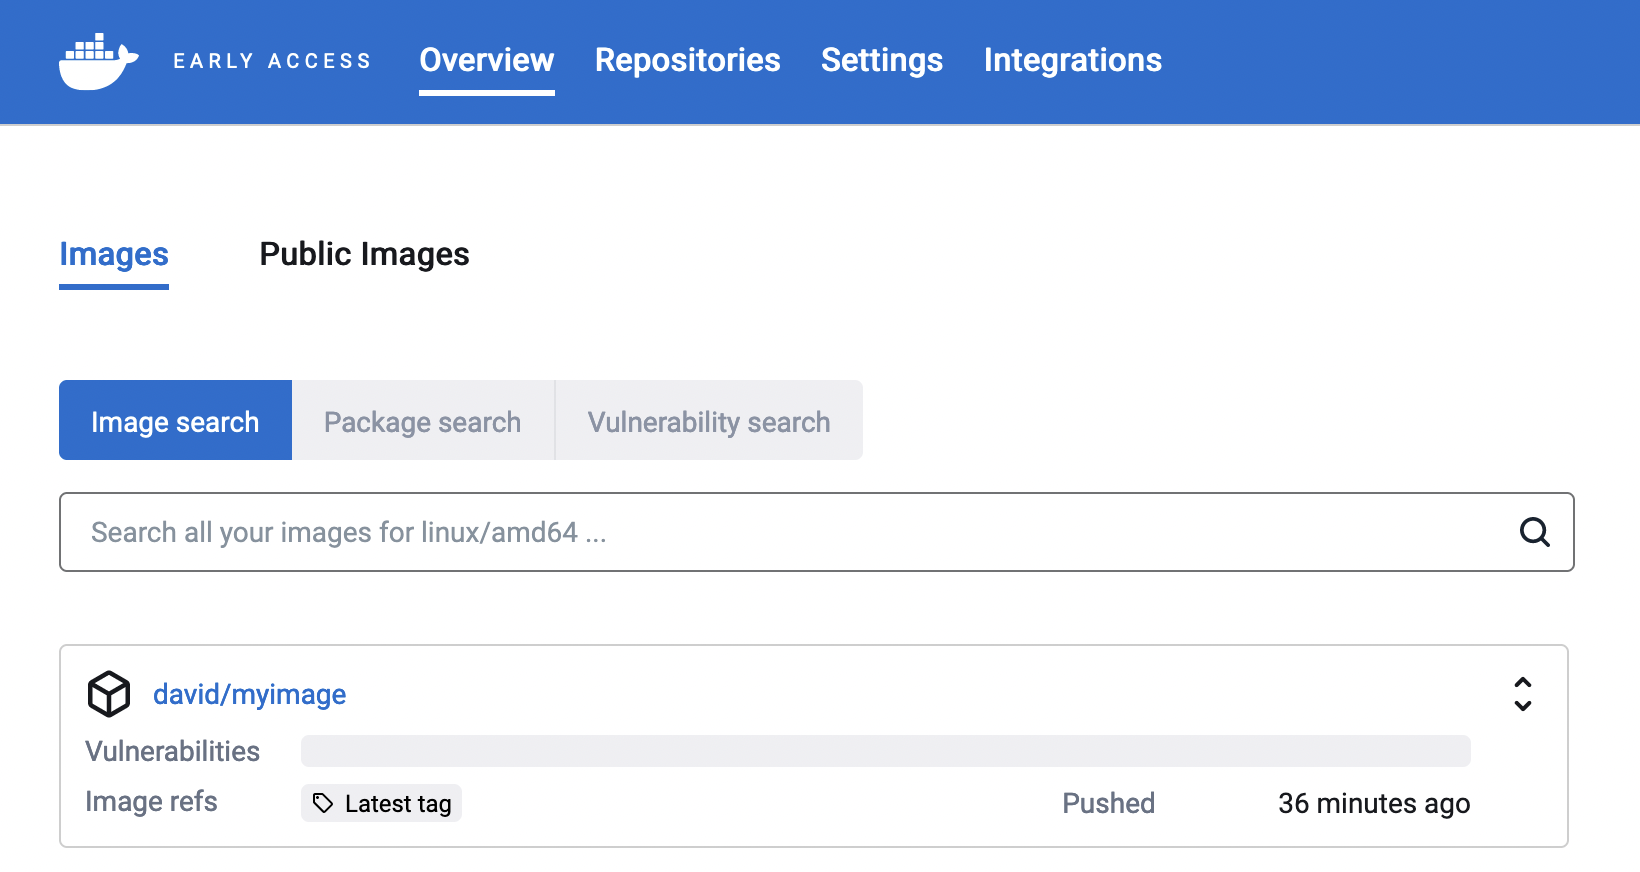
When the command exits, open the Atomist web UI{: target="blank" rel="noopener" class=""}, where you should see the image in the list.
 {:
width="700px"}
{:
width="700px"} -
Select the image name. This gets you to the list of image tags.
 {: width="700px"}
Since this is your first time indexing this image, the list only has one tag for now. When you integrate Atomist with your container registry, images and tags show up in this list automatically.
-
Select the tag name. This shows you the insights for this tag.
 {:
width="700px"}
{:
width="700px"}In this view, you can see how many vulnerabilities this image has, their severity levels, whether there is a fix version available, and more.
Where to go next
The tutorial ends here. Take some time to explore the different data views that Atomist presents about your image. When you're ready, head to the get started guide to learn how to start integrating Atomist in your software supply chain.