4.3 KiB
| description | keywords | title |
|---|---|---|
| sso connection | sso, connection | Single Sign-on connection |
Note
The following features are only available to Early Access participants.
Create a connection
-
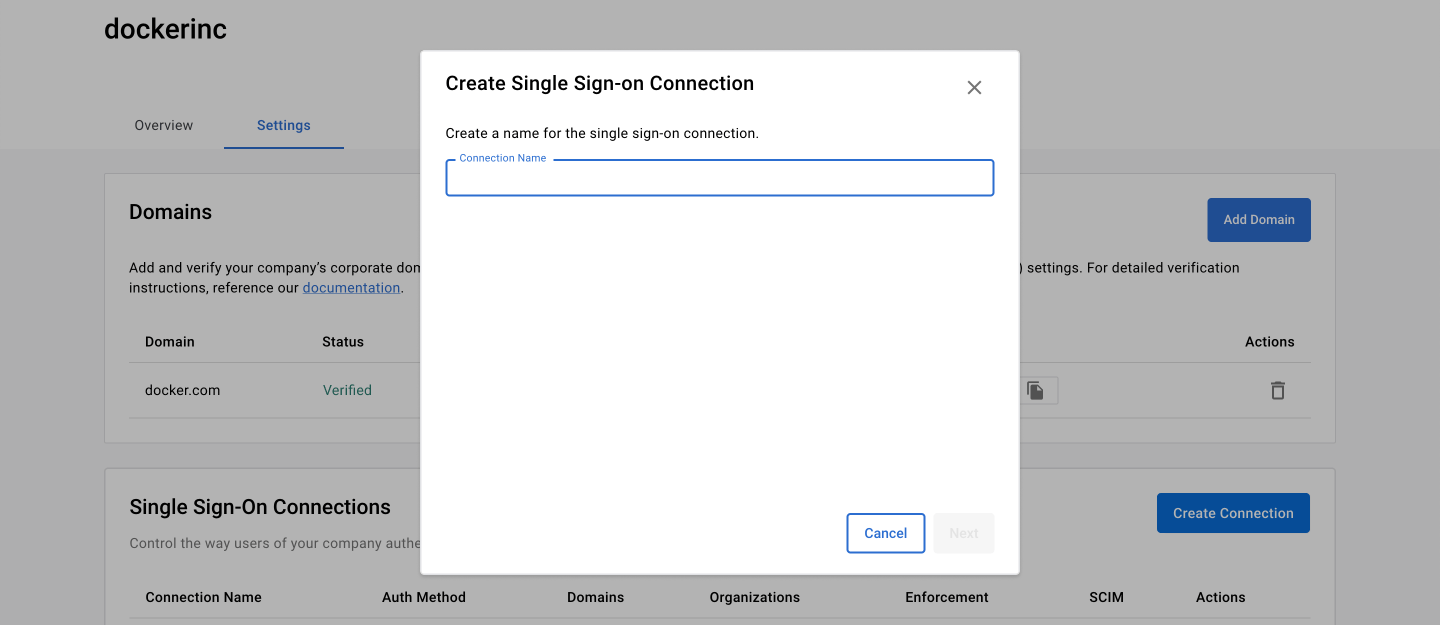
Once your domain is verified, continue to Single Sign-on Connections and select Create Connections, and create a name for the connection.
Note
You have to verify at least one domain before creating the connections.
 {: width="700px" }
 -
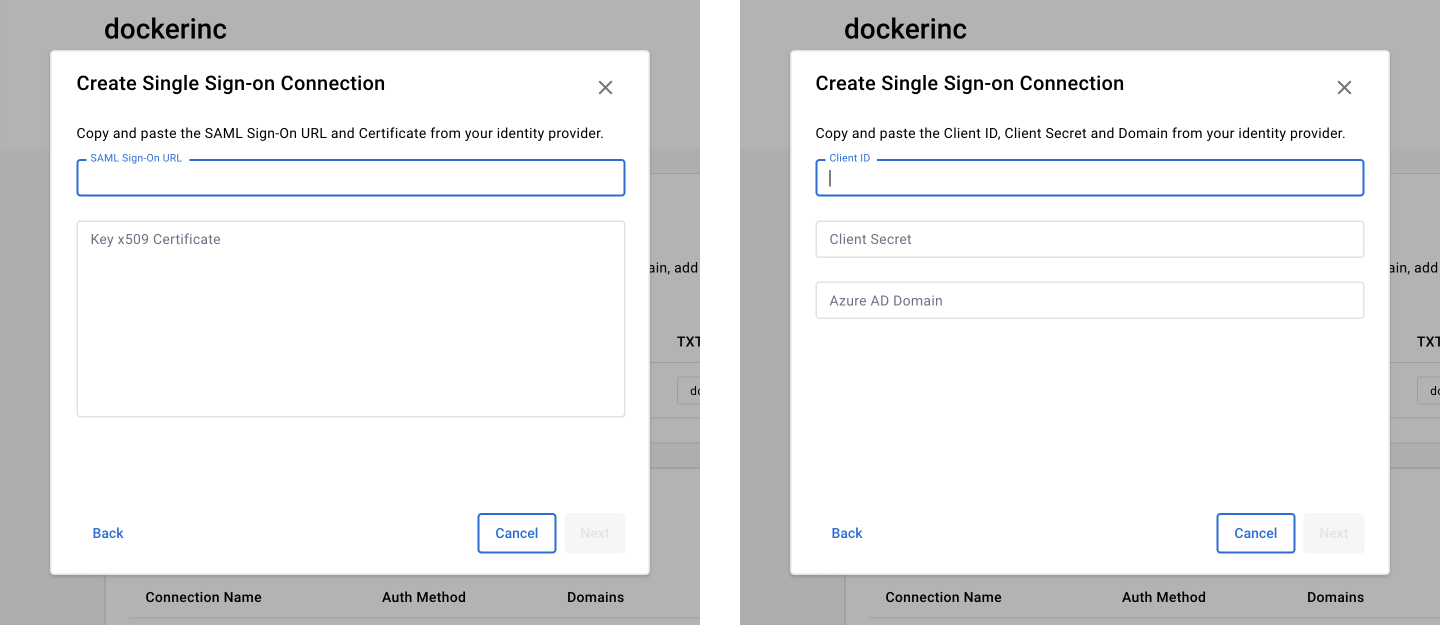
Select an authentication method, SAML or Azure AD (OIDC).
-
Copy the following fields and add them to your IdP:
- SAML: Entity ID, ACS URL
- Azure AD (OIDC): Redirect URL
 {: width="700px" }
 -
From your IdP, copy and paste the following values into the Docker Settings fields:
- SAML: SAML Sign-on URL, x509 Certificate
- Azure AD (OIDC): Client ID, Client Secret, Azure AD Domain
 {: width="700px" }
 -
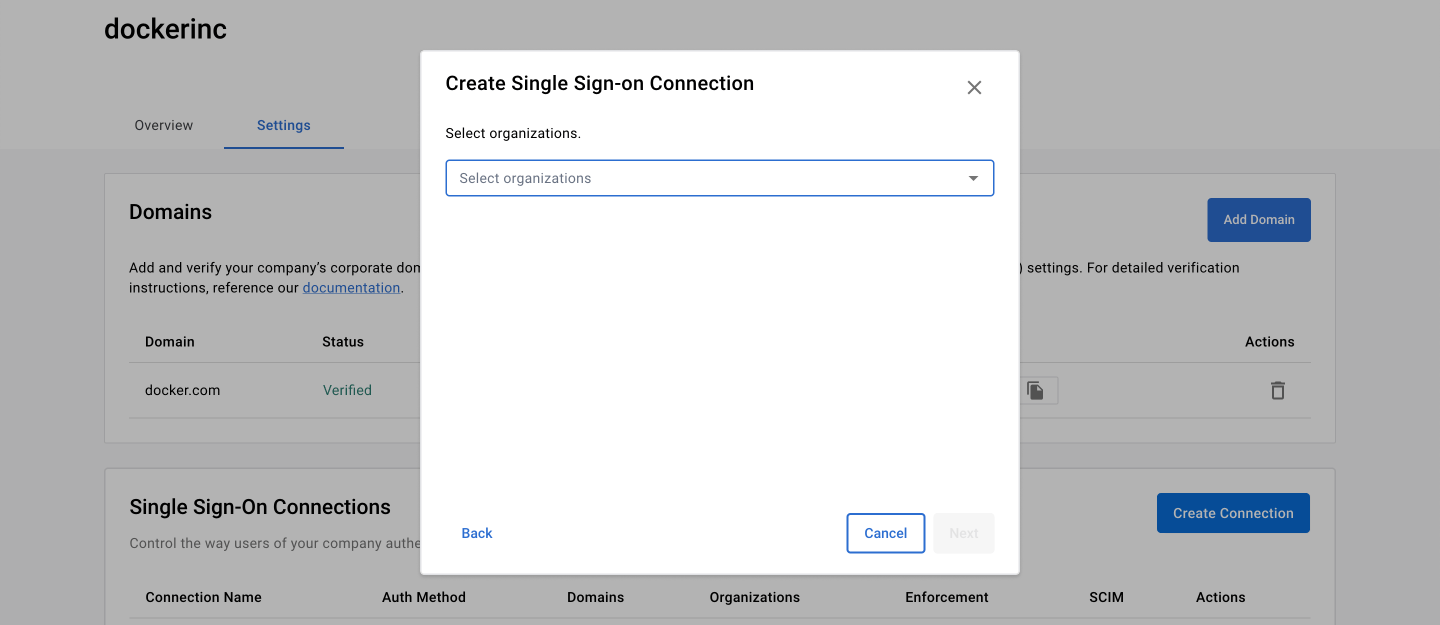
Select the Docker organization and verified domains you want to apply the connection.
 {: width="700px" }
 -
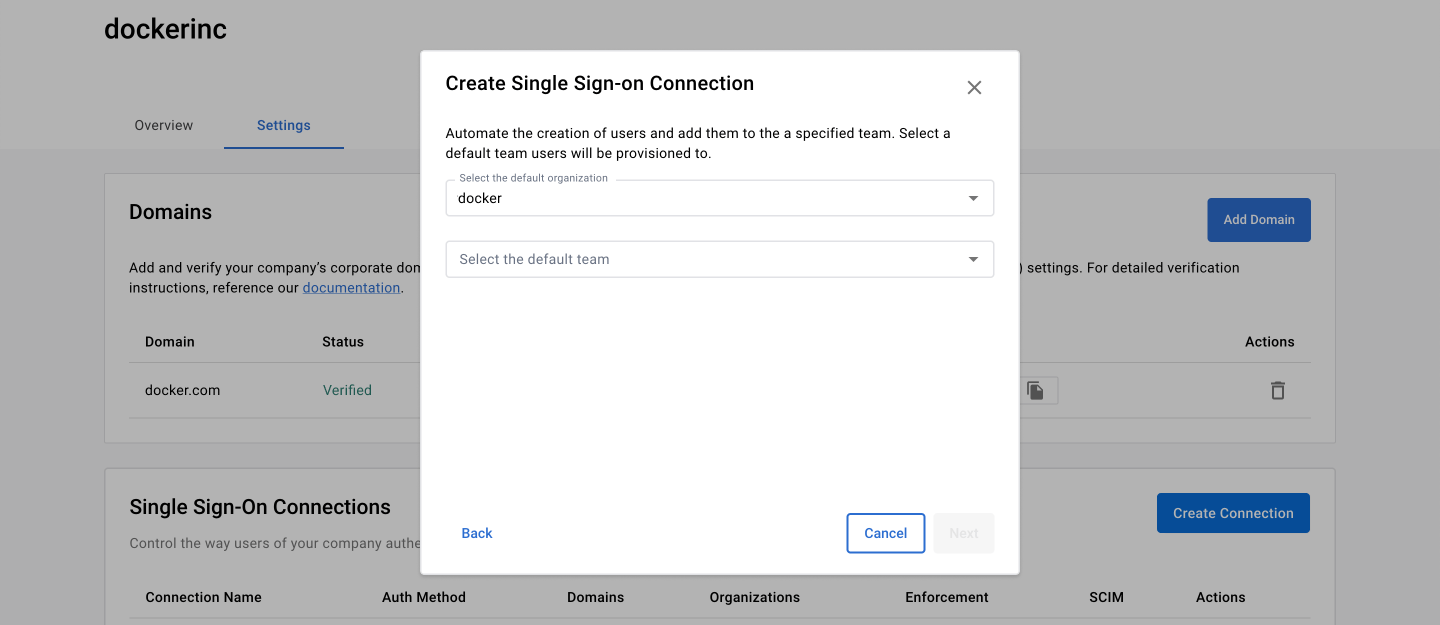
Select the organization and team you want to provision your users.
Note
This is the default organization if you have more than one organization in your SSO connection. Users are added to the specified organization and team.
-
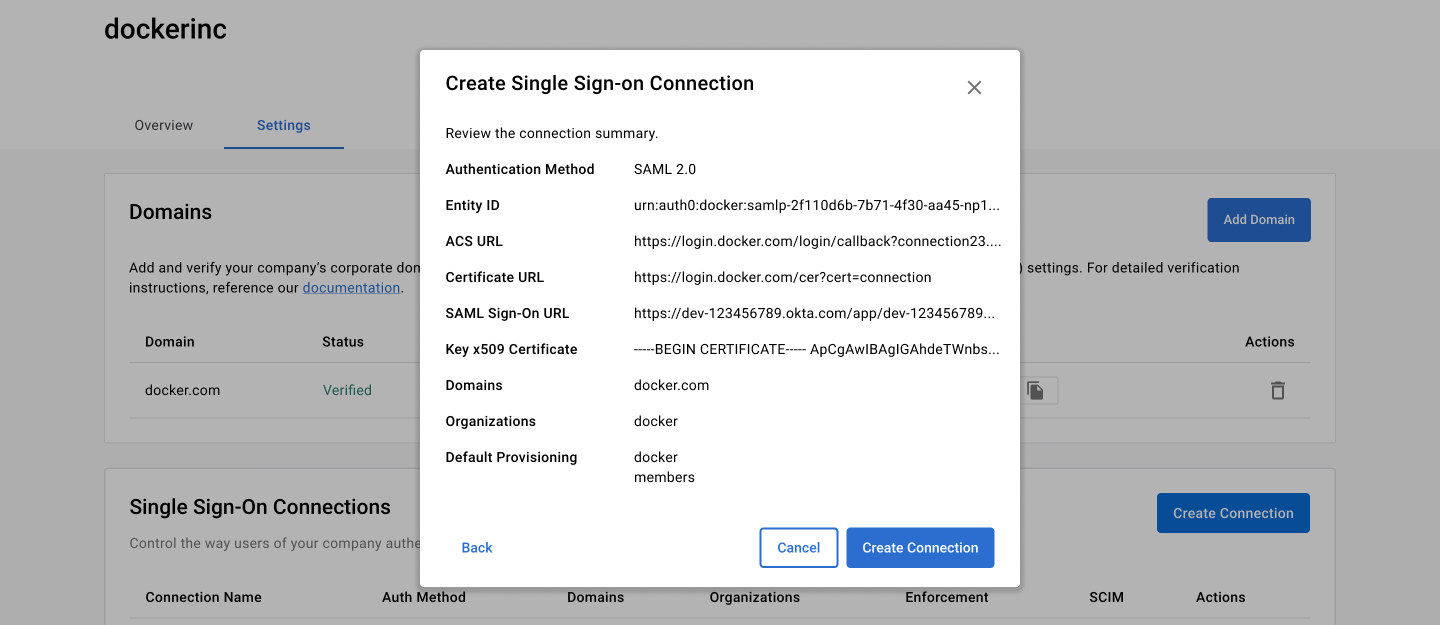
Review your summary and select Create Connection.
SSO connection is now created. You can continue to set up SSO Group Mapping and SCIM without enforcing SSO log-in.
Connect a domain
-
In the Single Sign-on Connections section, select the Action icon and Edit.
-
Select Next to navigate to the section where connected domains are listed.
-
In the Domain drop-down, select the domain you want to add to the connection.
{: width="700px" } -
Select Next to confirm or change the connected organizations.
-
Select Next to confirm or change the default organization and team provisioning selections.
 {: width="700px" }
 -
Review the connection summary and select Create Connection.
Connect an organization
You must have a company to connect an organization.
-
In the Single Sign-on Connections section, select the Action icon and Edit.
-
Select Next to navigate to the section where connected organizations are listed.
-
In the Organizations drop-down, select the organization to add to the connection.
 {: width="700px" }
 -
Select Next to confirm or change the default organization and team provisioning.
-
Review the Connection Summary and select Save.
 {: width="700px" }
Delete a connection
- In the Single Sign-On Connections, select the Action icon.
- Select Delete and Delete Connection.
- Continue with the on-screen instructions.
Edit a connection
- In the Single Sign-On Connections, select the Action icon.
- Select Edit Connection to edit you connection.
- Continue with the on-screen instructions.
 {: width="700px" }
Remove a domain
- In the Single Sign-On Connection, select the Action icon and Edit.
- Select Next to navigate to the section where the connected domains are listed.
- In the Domain drop-down, select the Remove icon next to the domain that you want to remove.
- Select Next to confirm or change the connected organizations.
- Select Next to confirm or change the default organization and team provisioning selections.
- Review the Connection Summary and select Save.
Remove an organization
- In the Single Sign-on Connection section, select the Action icon and Edit.
- Select Next to navigate to the section where connected organizations are listed.
- In the Organizations drop-down, select Remove to remove the connection.
- Select Next to confirm or change the default organization and team provisioning.
- Review the Connection Summary and select Save.