16 KiB
| description | keywords | title | redirect_from | |
|---|---|---|---|---|
| How to install Docker Desktop on Linux | linux, desktop, docker desktop, docker desktop for linux, dd4l, install, system requirements | Install Docker Desktop on Linux |
|
Docker Desktop terms
Commercial use of Docker Desktop in larger enterprises (more than 250 employees OR more than $10 million USD in annual revenue) requires a paid subscription.
This page contains information about system requirements, download URLs, and instructions on how to install and update Docker Desktop for Linux.
During first installation make sure to meet the system requirements outlined below and follow the distro-specific installation instructions:
RPM package{: .button .primary-btn } DEB package{: .button .primary-btn } Arch package (experimental){: .button .primary-btn }
System requirements
To install Docker Desktop successfully, your Linux host must meet the following requirements:
-
64-bit kernel and CPU support for virtualization.
-
KVM virtualization support. Follow the KVM virtualization support instructions to check if the KVM kernel modules are enabled and how to provide access to the kvm device.
-
QEMU must be version 5.2 or newer. We recommend upgrading to the latest version.
-
systemd init system.
-
Gnome or KDE Desktop environment.
- For many Linux distros, the Gnome environment does not support tray icons. To add support for tray icons, you need to install a Gnome extension. For example, AppIndicator).
-
At least 4 GB of RAM.
-
Enable configuring ID mapping in user namespaces, see File sharing.
Docker Desktop for Linux runs a Virtual Machine (VM). For more information on why, see Why Docker Desktop for Linux runs a VM.
Note:
Docker does not provide support for running Docker Desktop in nested virtualization scenarios. We recommend that you run Docker Desktop for Linux natively on supported distributions.
Supported platforms
Docker provides .deb and .rpm packages from the following Linux distributions
and architectures:
{% assign yes = ' {: .inline style="height: 14px; margin: 0 auto"}' %}
| Platform | x86_64 / amd64 |
|---|---|
| Ubuntu | {{ yes }} |
| Debian | {{ yes }} |
| Fedora | {{ yes }} |
Note:
An experimental package is available for Arch-based distributions. Docker has not tested or verified the installation.
Docker supports Docker Desktop on the current LTS release of the aforementioned distributions and the most recent version. As new versions are made available, Docker stops supporting the oldest version and supports the newest version.
KVM virtualization support
Docker Desktop runs a VM that requires KVM support.
The kvm module should load automatically if the host has virtualization support. To load the module manually, run:
$ modprobe kvm
Depending on the processor of the host machine, the corresponding module must be loaded:
$ modprobe kvm_intel  # Intel processors

$ modprobe kvm_amd    # AMD processors
If the above commands fail, you can view the diagnostics by running:
$ kvm-ok
To check if the KVM modules are enabled, run:
$ lsmod | grep kvm
kvm_amd               167936  0
ccp                   126976  1 kvm_amd
kvm                  1089536  1 kvm_amd
irqbypass              16384  1 kvm
Set up KVM device user permissions
To check ownership of /dev/kvm, run :
$ ls -al /dev/kvm
Add your user to the kvm group in order to access the kvm device:
$ sudo usermod -aG kvm $USER
Log out and log back in so that your group membership is re-evaluated.
Generic installation steps
- Download the correct package for your Linux distribution and install it with the corresponding package manager.
-
Open your Applications menu in Gnome/KDE Desktop and search for Docker Desktop.
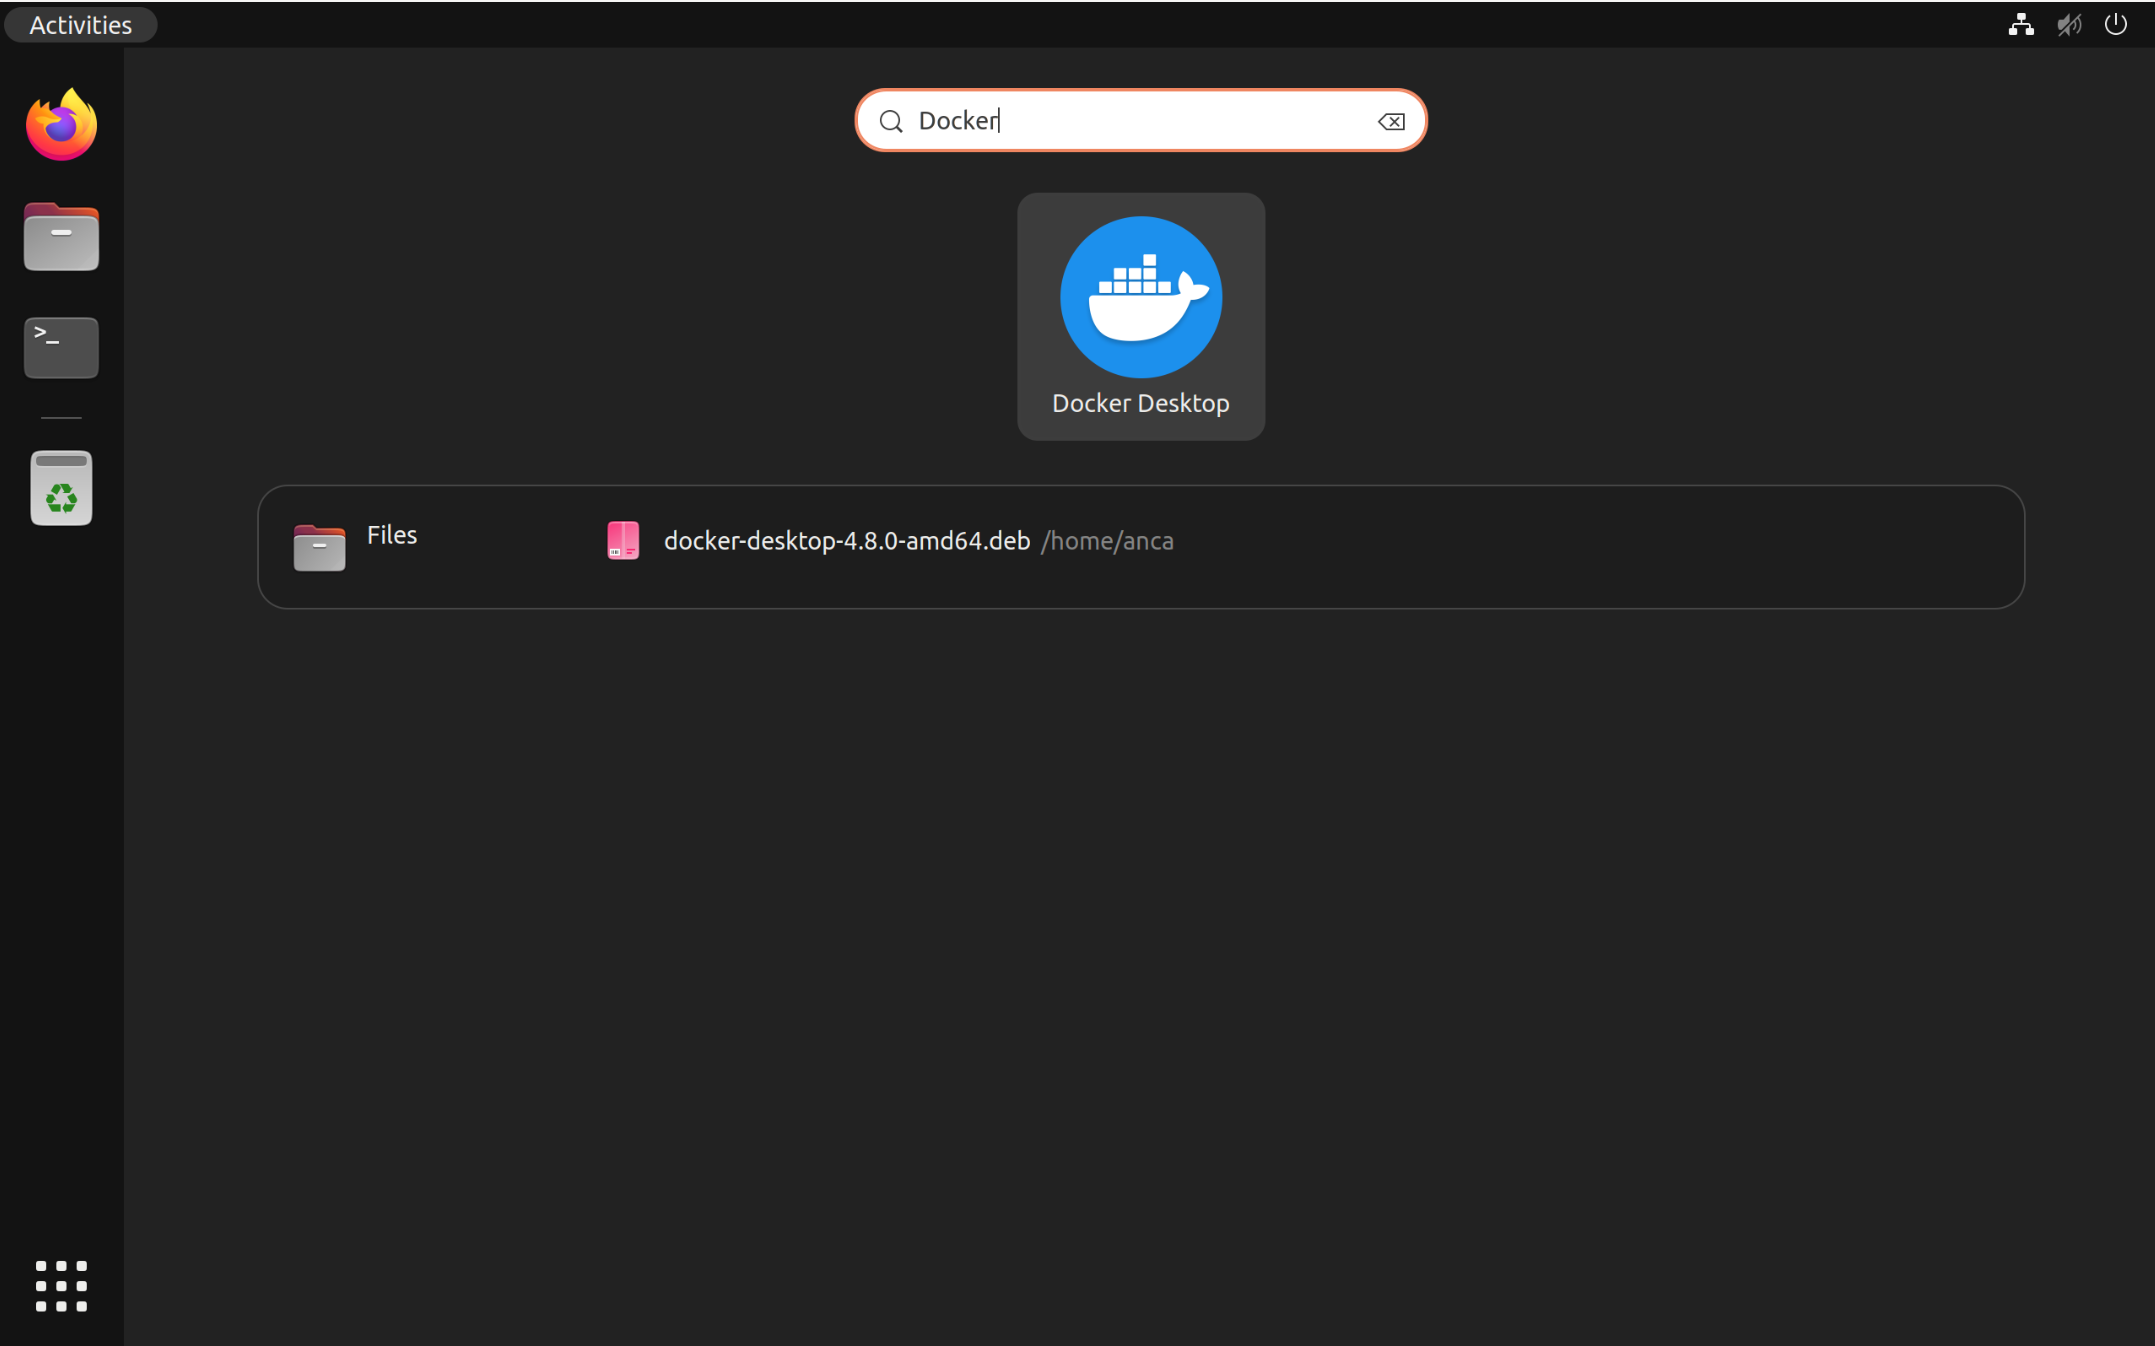
-
Select Docker Desktop to start Docker.
The Docker menu ( {: .inline}) displays the Docker Subscription Service Agreement window.
 -
Select Accept to continue. Docker Desktop starts after you accept the terms.
Important
If you do not agree to the terms, the Docker Desktop application will close and you can no longer run Docker Desktop on your machine. You can choose to accept the terms at a later date by opening Docker Desktop. {: .important}
For more information, see Docker Desktop Subscription Service Agreement. We recommend that you also read the FAQs{: target="blank" rel="noopener" class="" id="dkr_docs_desktop_install_btl"}.
Differences between Docker Desktop for Linux and Docker Engine
Docker Desktop for Linux and Docker Engine can be installed side-by-side on the same machine. Docker Desktop for Linux stores containers and images in an isolated storage location within a VM and offers controls to restrict its resources. Using a dedicated storage location for Docker Desktop prevents it from interfering with a Docker Engine installation on the same machine.
While it's possible to run both Docker Desktop and Docker Engine simultaneously,
there may be situations where running both at the same time can cause issues.
For example, when mapping network ports (-p / --publish) for containers, both
Docker Desktop and Docker Engine may attempt to reserve the same port on your
machine, which can lead to conflicts ("port already in use").
We generally recommend stopping the Docker Engine while you're using Docker Desktop to prevent the Docker Engine from consuming resources and to prevent conflicts as described above.
Use the following command to stop the Docker Engine service:
$ sudo systemctl stop docker docker.socket containerd
Depending on your installation, the Docker Engine may be configured to automatically start as a system service when your machine starts. Use the following command to disable the Docker Engine service, and to prevent it from starting automatically:
$ sudo systemctl disable docker docker.socket containerd
Switch between Docker Desktop and Docker Engine
{: id="context" }
The Docker CLI can be used to interact with multiple Docker Engines. For example, you can use the same Docker CLI to control a local Docker Engine and to control a remote Docker Engine instance running in the cloud. Docker Contexts allow you to switch between Docker Engines instances.
When installing Docker Desktop, a dedicated "desktop-linux" context is created to
interact with Docker Desktop. On startup, Docker Desktop automatically sets its
own context (desktop-linux) as the current context. This means that subsequent
Docker CLI commands target Docker Desktop. On shutdown, Docker Desktop resets
the current context to the default context.
Use the docker context ls command to view what contexts are available on your
machine. The current context is indicated with an asterisk (*);
$ docker context ls
NAME            DESCRIPTION                               DOCKER ENDPOINT                                  ...
default *       Current DOCKER_HOST based configuration   unix:///var/run/docker.sock                      ...
desktop-linux                                             unix:///home/<user>/.docker/desktop/docker.sock  ...
If you have both Docker Desktop and Docker Engine installed on the same machine,
you can run the docker context use command to switch between the Docker Desktop
and Docker Engine contexts. For example, use the "default" context to interact
with the Docker Engine;
$ docker context use default
default
Current context is now "default"
And use the desktop-linux context to interact with Docker Desktop:
$ docker context use desktop-linux
desktop-linux
Current context is now "desktop-linux"
Refer to the Docker Context documentation for more details.
Updates
Once a new version for Docker Desktop is released, the Docker UI shows a notification. You need to download the new package each time you want to upgrade manually.
To upgrade your installation of Docker Desktop, first stop any instance of Docker Desktop running locally, then follow the regular installation steps to install the new version on top of the existing version.
Uninstall Docker Desktop
Docker Desktop can be removed from a Linux host using the package manager.
Once Docker Desktop has been removed, users must remove the credsStore and currentContext properties from the ~/.docker/config.json.
Note
Uninstalling Docker Desktop destroys Docker containers, images, volumes, and other Docker related data local to the machine, and removes the files generated by the application. Refer to the back up and restore data section to learn how to preserve important data before uninstalling.
Why Docker Desktop for Linux runs a VM
Docker Desktop for Linux runs a Virtual Machine (VM) for the following reasons:
-
To ensure that Docker Desktop provides a consistent experience across platforms.
During research, the most frequently cited reason for users wanting Docker Desktop for Linux (DD4L) was to ensure a consistent Docker Desktop experience with feature parity across all major operating systems. Utilizing a VM ensures that the Docker Desktop experience for Linux users will closely match that of Windows and macOS.
This need to deliver a consistent experience across all major OSs will become increasingly important as we look towards adding exciting new features, such as Docker Extensions, to Docker Desktop that will benefit users across all tiers. We’ll provide more details on these at DockerCon22{: target="blank" rel="noopener" class=""}. Watch this space.
-
To make use of new kernel features
Sometimes we want to make use of new operating system features. Because we control the kernel and the OS inside the VM, we can roll these out to all users immediately, even to users who are intentionally sticking on an LTS version of their machine OS.
-
To enhance security
Container image vulnerabilities pose a security risk for the host environment. There is a large number of unofficial images that are not guaranteed to be verified for known vulnerabilities. Malicious users can push images to public registries and use different methods to trick users into pulling and running them. The VM approach mitigates this threat as any malware that gains root privileges is restricted to the VM environment without access to the host.
Why not run rootless Docker? Although this has the benefit of superficially limiting access to the root user so everything looks safer in "top", it allows unprivileged users to gain
CAP_SYS_ADMINin their own user namespace and access kernel APIs which are not expecting to be used by unprivileged users, resulting in vulnerabilities{: target="blank" rel="noopener" class=""}. -
To provide the benefits of feature parity and enhanced security, with minimal impact on performance
The VM utilized by DD4L uses
virtiofs{:target="blank" rel="noopener" class=""}, a shared file system that allows virtual machines to access a directory tree located on the host. Our internal benchmarking shows that with the right resource allocation to the VM, near native file system performance can be achieved with virtiofs.As such, we have adjusted the default memory available to the VM in DD4L. You can tweak this setting to your specific needs by using the Memory slider within the Settings > Resources tab of Docker Desktop.
File sharing
Docker Desktop for Linux uses virtiofs{:target="_blank" rel="noopener"}{:target="_blank" rel="noopener"} as the
default (and currently only) mechanism to enable file sharing between the host
and Docker Desktop VM. In order not to require elevated privileges, without
unnecessarily restricting operations on the shared files, Docker Desktop runs
the file sharing service (virtiofsd) inside a user namespace (see
user_namespaces(7)) with UID and GID mapping configured. As a result Docker
Desktop relies on the host being configured to enable the current user to use
subordinate ID delegation. For this to be true /etc/subuid (see subuid(5))
and /etc/subgid (see subgid(5)) must be present. Docker Desktop only
supports subordinate ID delegation configured via files. Docker Desktop maps the
current user ID and GID to 0 in the containers. It uses the first entry
corresponding to the current user in /etc/subuid and /etc/subgid to set up
mappings for IDs above 0 in the containers.
| ID in container | ID on host |
|---|---|
| 0 (root) | ID of the user running DD (e.g. 1000) |
| 1 | 0 + beginning of ID range specified in /etc/subuid//etc/subgid (e.g. 100000) |
| 2 | 1 + beginning of ID range specified in /etc/subuid//etc/subgid (e.g. 100001) |
| 3 | 2 + beginning of ID range specified in /etc/subuid//etc/subgid (e.g. 100002) |
| ... | ... |
If /etc/subuid and /etc/subgid are missing, they need to be created.
Both should contain entries in the form -
<username>:<start of id range>:<id range size>. For example, to allow the current user
to use IDs from 100000 to 165535:
$ grep "$USER" /etc/subuid >> /dev/null 2&>1 || (echo "$USER:100000:65536" | sudo tee -a /etc/subuid)
$ grep "$USER" /etc/subgid >> /dev/null 2&>1 || (echo "$USER:100000:65536" | sudo tee -a /etc/subgid)
To verify the configs have been created correctly, inspect their contents:
$ echo $USER
exampleuser
$ cat /etc/subuid
exampleuser:100000:65536
$ cat /etc/subgid
exampleuser:100000:65536
In this scenario if a shared file is chowned inside a Docker Desktop container
owned by a user with a UID of 1000, it shows up on the host as owned by
a user with a UID of 100999. This has the unfortunate side effect of preventing
easy access to such a file on the host. The problem is resolved by creating
a group with the new GID and adding our user to it, or by setting a recursive
ACL (see setfacl(1)) for folders shared with the Docker Desktop VM.
Where to go next
- Troubleshooting describes common problems, workarounds, how to run and submit diagnostics, and submit issues.
- FAQs provide answers to frequently asked questions.
- Release notes lists component updates, new features, and improvements associated with Docker Desktop releases.
- Get started with Docker provides a general Docker tutorial.
- Back up and restore data provides instructions on backing up and restoring data related to Docker.