171 lines
6.5 KiB
Markdown
171 lines
6.5 KiB
Markdown
---
|
|
id: chaoscenter-oauth-dex-installation
|
|
title: ChaosCenter with OAuth2 login support
|
|
sidebar_label: OAuth2 support using Dex
|
|
---
|
|
|
|
---
|
|
|
|
## Prerequisites
|
|
|
|
Before deploying LitmusChaos, make sure the following items are there:
|
|
|
|
- Kubernetes 1.17 or later
|
|
|
|
- A Persistent volume of 20GB
|
|
|
|
:::note
|
|
Although it is recommended to have a Persistent Volume(PV) of 20GB, you can start with 1GB for test purposes as well. This PV is used as persistent storage to store the chaos config and chaos-metrics in ChaosCenter. By default, Litmus would use the default storage class to allocate the PV.
|
|
:::
|
|
|
|
- [kubectl](https://kubernetes.io/docs/tasks/tools/#kubectl)
|
|
|
|
- [Deployed ChaosCenter](../getting-started/installation.md)
|
|
|
|
- Atleast one of the following
|
|
- Google Oauth credentials
|
|
- GitHub Oauth credentials
|
|
|
|
## Deploy Dex OIDC provider
|
|
|
|
In order to enable OAuth2 and to be able to login via Google and GitHub, litmus uses [Dex OIDC](https://dexidp.io/).
|
|
|
|
Make sure you have your Google and GitHub client credentials ready. If you do not have them, you can generate one yourself:
|
|
|
|
- [Guide to generating Google Oauth Client Credentials](https://support.google.com/cloud/answer/6158849?hl=en#zippy=)
|
|
- [Guide to generating GitHub OAuth Client Credentials](https://docs.github.com/en/developers/apps/building-oauth-apps/creating-an-oauth-app)
|
|
|
|
### Configuring Dex OIDC provider
|
|
|
|
```bash
|
|
curl https://raw.githubusercontent.com/litmuschaos/litmus/refs/heads/master/chaoscenter/dex-server/dex-deployment.yaml --output dex-deployment.yaml
|
|
```
|
|
|
|
1. Open the file with your favorite text-editor
|
|
2. You will find the following `config-map` with some data, replace your data as the comments suggests
|
|
```yaml
|
|
issuer: http://<NODE_IP>:32000 # Replace your NODE_IP here
|
|
storage:
|
|
type: kubernetes
|
|
config:
|
|
inCluster: true
|
|
web:
|
|
http: 0.0.0.0:5556
|
|
staticClients:
|
|
- id: LitmusPortalAuthBackend
|
|
redirectURIs:
|
|
- '/auth/dex/callback'
|
|
- 'http://localhost:8080/auth/dex/callback' # Included for local testing purposes
|
|
- 'https://<REPLACE_FRONTEND_URL>/auth/dex/callback' #TODO: Replace with you frontend URL
|
|
name: 'LitmusPortalAuthBackend'
|
|
secret: ZXhhbXBsZS1hcHAtc2VjcmV0
|
|
oauth2:
|
|
skipApprovalScreen: true
|
|
connectors:
|
|
- type: google
|
|
id: google
|
|
name: Google
|
|
config:
|
|
clientID: # Add your Google Client ID here
|
|
clientSecret: # Add your Google Client Secret here
|
|
redirectURI: http://<NODE_IP>:32000 # Replace your NODE_IP here
|
|
- type: github
|
|
id: github
|
|
name: GitHub
|
|
config:
|
|
clientID: # Add your GitHub Client ID here
|
|
clientSecret: # Add your GitHub Client Secret here
|
|
redirectURI: http://<NODE_IP>:32000/callback # Replace your NODE_IP here
|
|
```
|
|
|
|
:::info
|
|
The Dex OIDC provider runs at `NODE_IP:32000` by default
|
|
:::
|
|
|
|
After the configuration, deploy the Dex deployment using the following command:
|
|
|
|
```bash
|
|
kubectl apply -f dex-deployment.yaml
|
|
```
|
|
|
|
You should now see the dex-server deployed in the litmus namespace!
|
|
|
|
```bash
|
|
kubectl get pods -n litmus
|
|
```
|
|
|
|
<span style={{color: 'green'}}><b>Expected Output</b></span>
|
|
|
|
```
|
|
NAME READY STATUS RESTARTS AGE
|
|
litmusportal-dex-server-7f7658b57-lbbxc 1/1 Running 0 107s
|
|
litmusportal-frontend-74d456746f-56v9x 1/1 Running 0 5m57s
|
|
litmusportal-server-9c4d85f57-5r6km 2/2 Running 0 5m57s
|
|
mongo-0 1/1 Running 0 5m57s
|
|
```
|
|
|
|
### Configuring authentication server to enable Dex features
|
|
|
|
To set up Dex, the backend server needs to be modified to communicate with Dex. This can be achieved by adding some environment variables:
|
|
|
|
- `OIDC_ISSUER`: The address where the Dex OIDC is hosted, i.e. `NODE_IP:32000` or `https://dex.yourdomain.com`.
|
|
- `DEX_ENABLED`: Toggle Dex features in the backend server.
|
|
- `DEX_OAUTH_CALLBACK_URL`: The URL to be called back after user completes OAuth verification, this will be the frontend service.
|
|
- `DEX_OAUTH_CLIENT_ID`: This parameter is defined in the `dex-deployment.yaml` file, defaults to `LitmusPortalAuthBackend`.
|
|
- `DEX_OAUTH_CLIENT_SECRET`: This parameter is defined in the `dex-deployment.yaml`, defaults to `ZXhhbXBsZS1hcHAtc2VjcmV0`.
|
|
|
|
Set the environment variables using the following command:
|
|
|
|
```bash
|
|
kubectl set env deployment/chaos-litmus-auth-server -n litmus --containers="auth-server" DEX_ENABLED=true OIDC_ISSUER=<REPLACE_NODE_IP>:32000 DEX_OAUTH_CALLBACK_URL=https://<REPLACE_FRONTEND_URL>/auth/dex/callback DEX_OAUTH_CLIENT_ID=LitmusPortalAuthBackend DEX_OAUTH_CLIENT_SECRET=ZXhhbXBsZS1hcHAtc2VjcmV0
|
|
```
|
|
|
|
After this, your authentication server pod(s) will be restarted and Dex features will be enabled.
|
|
|
|
### Verifying if OAuth2 is enabled
|
|
|
|
Run the following command to check the environment variables for the authentication server.
|
|
|
|
```bash
|
|
kubectl describe deployment litmusportal-server -n litmus auth-server
|
|
```
|
|
|
|
Under `auth-server`, verify if the `DEX_ENABLED` variables are set.
|
|
|
|
<span style={{color: 'green'}}><b>Expected Output</b></span>
|
|
|
|
```bash
|
|
auth-server:
|
|
Image: litmuschaos/litmusportal-auth-server:ci
|
|
Ports: 3000/TCP, 3030/TCP
|
|
Host Ports: 0/TCP, 0/TCP
|
|
Environment Variables from:
|
|
litmus-portal-admin-config ConfigMap Optional: false
|
|
litmus-portal-admin-secret Secret Optional: false
|
|
Environment:
|
|
STRICT_PASSWORD_POLICY: false
|
|
ADMIN_USERNAME: admin
|
|
ADMIN_PASSWORD: litmus
|
|
LITMUS_SVC_ENDPOINT: 127.0.0.1
|
|
OIDC_ISSUER: [REDACTED]
|
|
DEX_ENABLED: true
|
|
DEX_OAUTH_CALLBACK_URL: [REDACTED]
|
|
Mounts: <none>
|
|
```
|
|
|
|
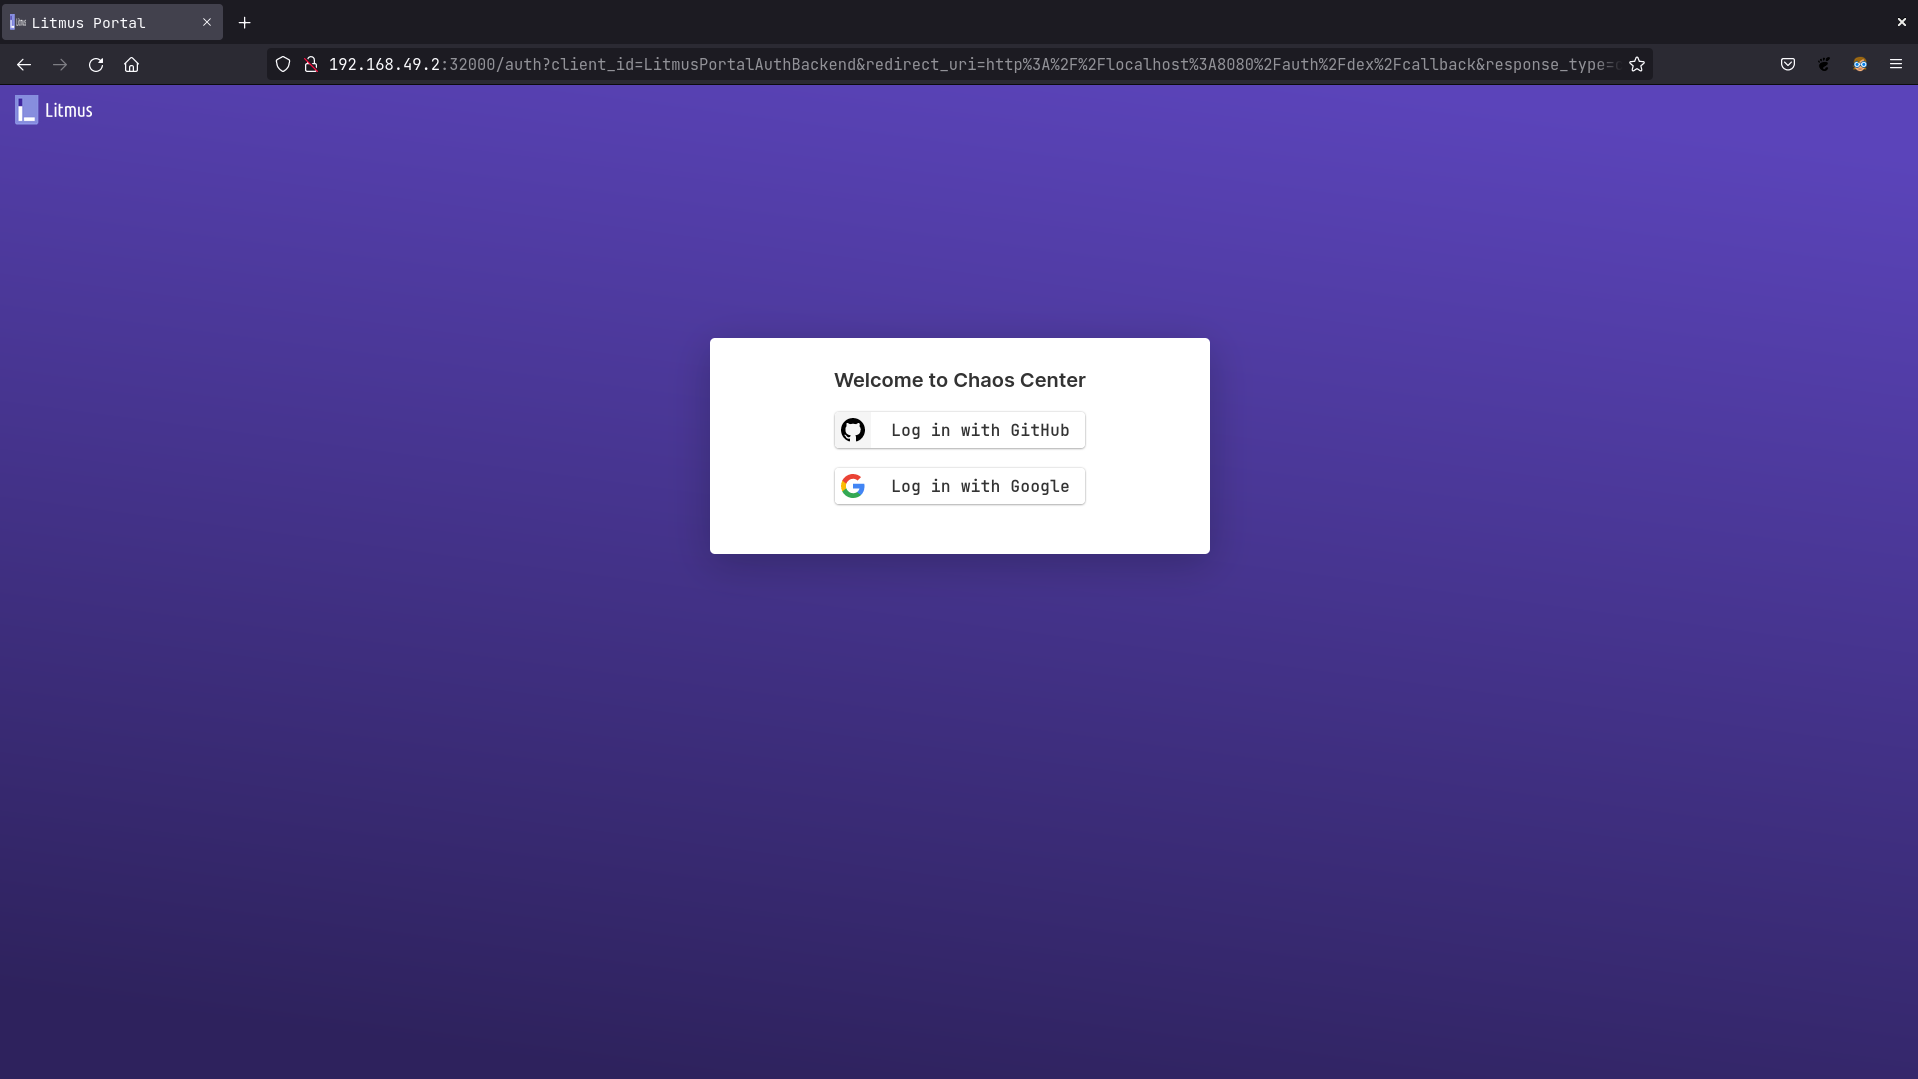
Go to http://litmusportal-frontend-service/auth/dex/login, you should be prompted with Google or GitHub login.
|
|
|
|
|
|
|
|
## Resources
|
|
|
|
- [Dex OIDC Provider configurations](https://dexidp.io/docs/)
|
|
|
|
## Learn more
|
|
|
|
- [Install ChaosCenter with HTTP](../getting-started/installation.md))
|
|
- [Install ChaosCenter with HTTPS](chaoscenter-advanced-installation.md))
|
|
- [Connect External Chaos Delegates to ChaosCenter](../user-guides/chaos-infrastructure-installation.md)
|
|
- [Setup Endpoints and Access ChaosCenter without Ingress](../user-guides/setup-without-ingress.md)
|
|
- [Setup Endpoints and Access ChaosCenter with Ingress](../user-guides/setup-with-ingress.md)
|